Upcycling an old or unused yukata into a robe is a brilliant way to give it a new life while adding a touch of traditional elegance to your homewear. Yukatas, known for their lightweight fabric and beautiful patterns, make perfect starting points for a custom-made robe. Here’s how you can transform your yukata step-by-step into a robe that’s both chic and functional.
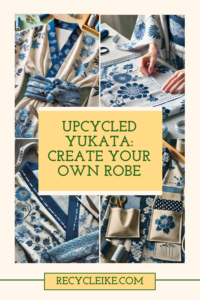
Materials You’ll Need:
- Yukata (cotton or lightweight material works best)
- Fabric scissors
- Sewing machine or needle and thread
- Tailor’s chalk or fabric marker
- Measuring tape
- Pins
- Bias tape or trim for finishing (optional)
Step-by-Step DIY Guide
Step 1: Assess the Yukata
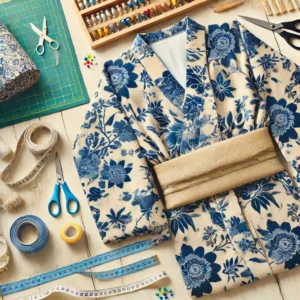
Start by laying the yukata flat on a large surface. Examine it for any damages like tears or worn areas. Check if the fabric needs washing or pressing before starting the sewing process. Ensure that the pattern of the yukata aligns with your vision for the robe (e.g., placing bold designs strategically).
Step 2: Measure and Mark
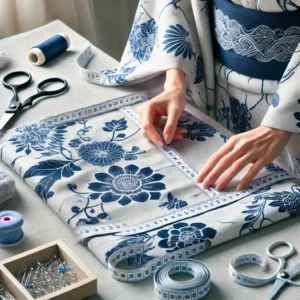
Put on the yukata and mark the desired length for your robe using tailor’s chalk. Robes typically fall just below the knee or mid-calf for comfort. Mark where you want the sleeves to be shortened if necessary. Note that traditional yukata sleeves are wide and may need slight modifications to look more like modern robes.
- Tip: Keep the original width of the sleeves if you love a flowy look, or trim them for a more practical fit.
Step 3: Cut the Fabric
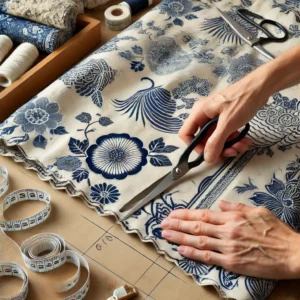
Using fabric scissors, carefully cut the length and sleeves according to your markings. Save the fabric scraps to potentially use for pockets or a belt later. If your yukata is very long, you may need to cut and hem the bottom.
Step 4: Re-shape the Sleeves (Optional)
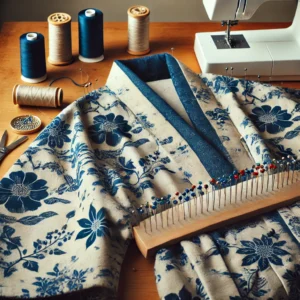
If the sleeves are too wide, fold them in half and sew along the bottom to create a tapered effect. This step ensures that your robe looks more streamlined.
- Fold the sleeves inside out.
- Pin along the seam where you wish to taper.
- Sew a simple straight stitch from the armpit to the end of the sleeve.
Step 5: Modify the Neckline
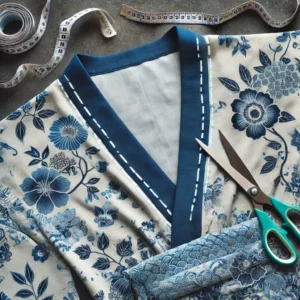
To create a more relaxed robe style, consider adjusting the neckline. You can round off the collar slightly or maintain the original straight cut if you prefer a classic look.
- Modify if Needed: You can make a V-neck by marking where you want it to start, and cutting a gentle curve into the fabric.
Step 6: Sew the Hem and Edges
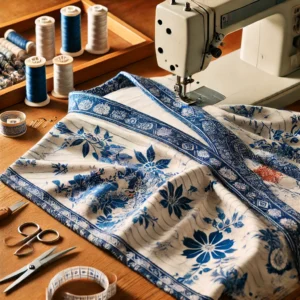
Hem the bottom of the robe and any raw edges to give a polished look. Fold over the fabric by about 1/2 inch, pin it in place, and use a sewing machine or hand stitch to secure the hem.
- Finish the Edges: Use bias tape or fabric trim to finish the edges if you want a professional touch.
Step 7: Add Pockets (Optional)
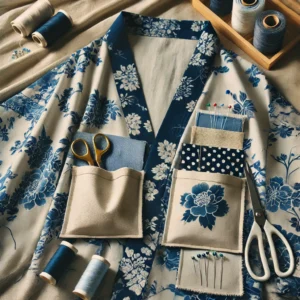
Create pockets using the fabric scraps from earlier. Cut two rectangular pieces, hem the edges, and sew them onto the robe where they’re most convenient.
- Measure and cut your pockets to your preferred size.
- Fold the edges inward and sew a small hem.
- Pin the pockets onto the robe and sew them securely.
Step 8: Attach a Belt Loop and Sash
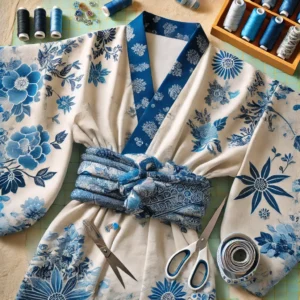
Use additional fabric scraps to create belt loops on the side seams of the robe. Cut thin strips and sew them on both sides at hip height. Create a sash from the fabric or use an existing belt.
- Sash Tips: Make the sash about twice the width of your waist and long enough to tie a secure knot.
Final Touches
Try on your robe and make any necessary adjustments. Check the fit, length, and overall comfort. If you want to get creative, add decorative stitching or embroidery to personalize it further.
Pro Tips for a Perfect Upcycled Robe
- Pre-Wash the Yukata: Always wash and iron the fabric before cutting to prevent future shrinking.
- Use Matching Thread: Choose a thread color that blends well with the yukata’s pattern for a seamless look.
- Stay Simple: Let the traditional patterns and design of the yukata be the highlight—don’t over-embellish.
Why Upcycle a Yukata?
Upcycling is an eco-friendly way to reduce waste and embrace sustainability. By repurposing a yukata into a robe, you’re not just saving fabric from a landfill; you’re creating a unique, wearable piece of history that holds cultural significance.
Enjoy your custom-made robe and the cozy touch of Japanese tradition in your wardrobe!
Leave a Reply