You’ve got some scrap wood sitting around, don’t you? Instead of letting it pile up in the corner of your garage or shed, why not put it to good use with some easy, creative DIY projects? Small scrap wood projects are perfect for adding a personal touch to your space, making gifts, and even creating items you didn’t know you needed. Plus, they’re often simple enough to complete in a single afternoon, making them ideal for beginner woodworkers or weekend DIYers.
Let’s dive into some fantastic project ideas, along with step-by-step instructions on how to make them!
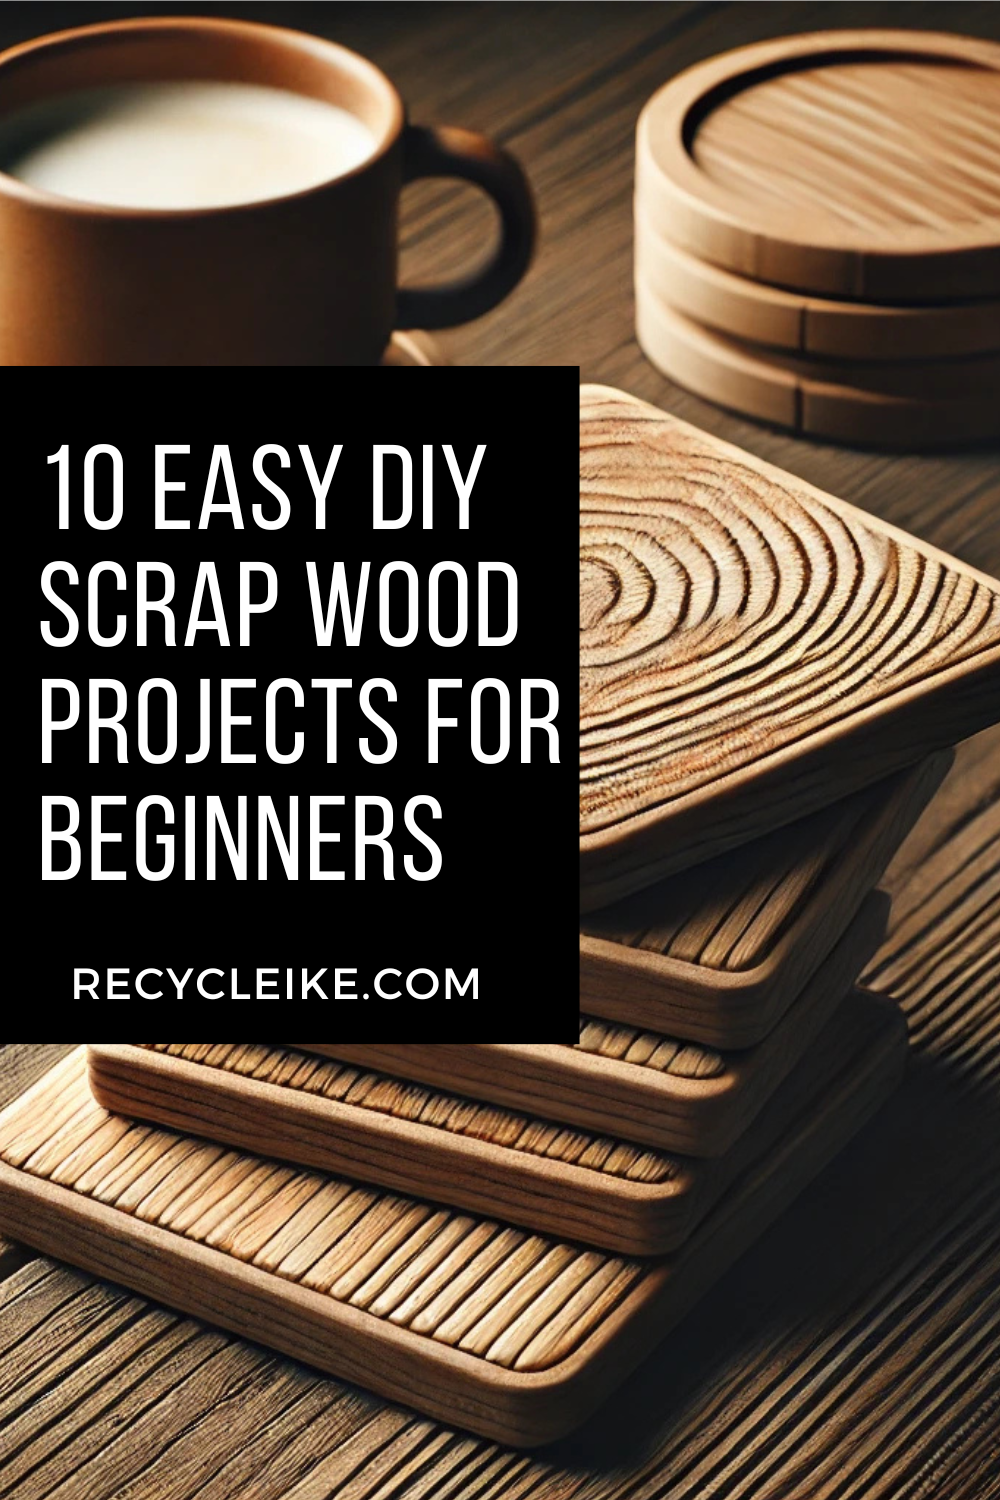
1. Simple Wood Coasters
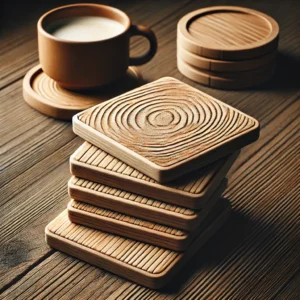
Perfect for: Beginner DIYers, housewarming gifts, and holiday presents
Materials:
- Scrap wood pieces (4×4 or 3×3 inches work well)
- Sandpaper (medium and fine grit)
- Wood stain or paint (optional)
- Clear sealant or polyurethane
Steps:
- Cut and Sand: Cut your scrap wood into squares, then sand down the edges and surface to remove any rough areas.
- Customize: Stain, paint, or even burn designs onto the wood with a wood-burning tool. You could also use stencils or paint to add patterns.
- Seal: Apply a clear sealant or polyurethane to protect the wood from water and stains.
- Dry and Use: Allow to dry fully before stacking them for use.
These little coasters add a rustic touch to any coffee table and are a great way to use up wood scraps!
2. Mini Wooden Shelf
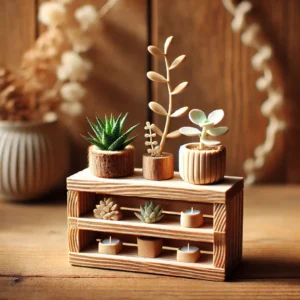
Perfect for: Displaying small plants, books, or décor
Materials:
- Three pieces of scrap wood (two for sides, one for the top or base)
- Screws or wood glue
- Sandpaper
- Paint or stain (optional)
Steps:
- Measure and Cut: Measure your wood pieces to create two side panels and one base or top shelf.
- Assemble: Attach the top to the two side pieces with screws or wood glue.
- Sand and Finish: Sand any rough edges, then paint or stain for a clean look.
- Mount: Hang or prop up on any table or shelf.
This project is simple but gives you the perfect shelf for little decorations or plants!
3. Rustic Wooden Key Holder
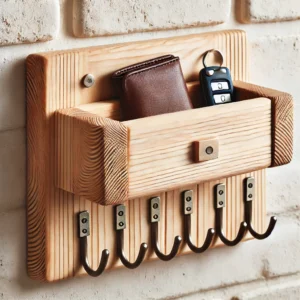
Perfect for: Organizing keys and small items by the door
Materials:
- Small wood plank
- Key hooks
- Drill or screwdriver
- Paint, stain, or clear sealant (optional)
Steps:
- Prepare the Wood: Sand your plank until it’s smooth. You can leave it natural or apply paint or stain.
- Attach Hooks: Drill holes and screw in the hooks, spacing them evenly across the plank.
- Mount on Wall: Drill holes in the wall to securely mount the key holder near your door.
Pro Tip:
Add a small shelf on top for wallets, sunglasses, or small items you need when heading out.
4. Wooden Candle Holders
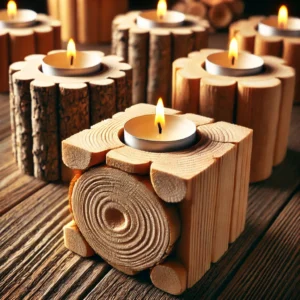
Perfect for: Centerpieces, outdoor lighting, and cozy ambiance
Materials:
- Small wood blocks or logs
- Drill with a spade bit (size based on candle diameter)
- Sandpaper
- Clear finish or paint (optional)
Steps:
- Cut and Sand: Start with blocks or slices of scrap wood, sanding down any rough areas.
- Drill Candle Space: Use the drill bit to create a cavity in the center where a candle can sit.
- Finish or Paint: Stain, paint, or seal the wood for protection and style.
These rustic candle holders make a cozy addition to any room!
5. Scrap Wood Planter Boxes
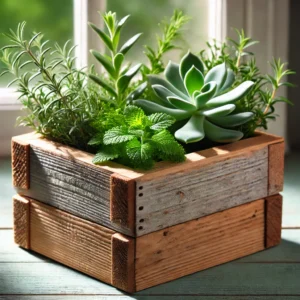
Perfect for: Indoor plants, herbs, or succulents
Materials:
- Scrap wood pieces
- Screws or wood glue
- Sandpaper
- Drill
- Outdoor wood sealant (for outdoor use)
Steps:
- Cut Wood to Size: Cut your scrap wood to create four sides and a base.
- Assemble Box: Attach the sides and base with screws or wood glue.
- Sand and Seal: Sand the edges and apply a sealant if it’s for outdoor use.
These boxes add a nice touch to a windowsill or outdoor patio, and they’re simple to make in a variety of sizes!
6. Wood Bookends
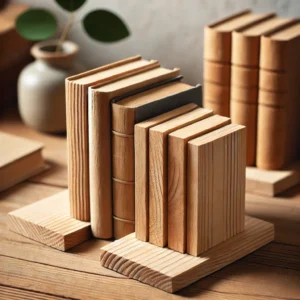
Perfect for: Home libraries, kids’ rooms, or a simple desk organizer
Materials:
- Scrap wood pieces (about 6×6 inches, depending on book size)
- Wood glue
- Sandpaper
- Paint or stain (optional)
Steps:
- Sand Edges: Sand any rough edges on your wood pieces.
- Glue Together: Attach two pieces at a 90-degree angle with wood glue. Hold them in place until dry.
- Customize: Paint or stain to match your space or leave the natural wood look.
Simple yet effective, these bookends make a great addition to any book collection.
7. Scrap Wood Wall Art
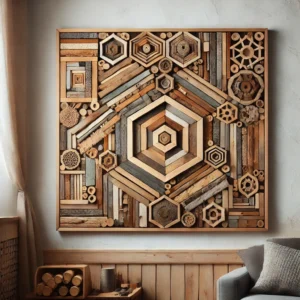
Perfect for: Decorating a blank wall, adding character to a room
Materials:
- Assorted scrap wood pieces
- Wood glue
- Saw (optional, for trimming wood pieces)
- Paint or stain (optional)
Steps:
- Arrange Your Design: Arrange your scrap pieces into a pattern or shape.
- Glue and Trim: Glue the pieces together. Once dry, trim any edges if necessary.
- Customize with Paint: Use different colors or finishes to create contrast.
You can create beautiful, unique wall art with your leftover wood scraps, giving your space a touch of personality.
8. Wooden Phone Stand
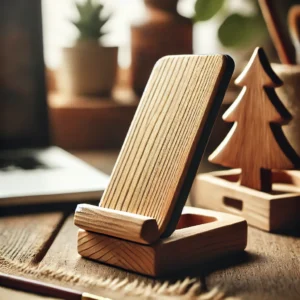
Perfect for: Desk organization, keeping your phone accessible
Materials:
- Small wood block
- Drill
- Sandpaper
- Paint or stain (optional)
Steps:
- Mark and Drill: Mark where the phone will sit, then drill a slot or cavity.
- Sand Smooth: Sand any rough edges for a smooth finish.
- Optional Customization: Paint, stain, or leave natural.
This little project is super handy, especially for desks or nightstands.
Tips for Making the Most Out of Scrap Wood
- Organize by Size: Keep your wood organized by size and shape to quickly grab pieces for smaller projects.
- Safety First: Always wear protective gear when using saws, drills, and sanders.
- Experiment: Don’t be afraid to combine pieces or try new techniques—scrap wood projects are low-risk and perfect for experimentation.
- Upcycle More: Consider adding leftover materials, like paint, leather, or fabric, for even more creativity.
Final Thoughts
These small scrap wood projects not only help you clear out your scrap pile but also give you a sense of accomplishment with every finished piece. Whether you’re creating something for yourself or a gift, each project is a fun way to turn “scraps” into something special. Now, roll up those sleeves and get crafting!
Leave a Reply