High school woodworking projects offer students a perfect mix of hands-on experience, creativity, and practical skill-building. Here’s a roundup of project ideas that are accessible for beginners but also rewarding and useful for daily life or even future college dorms.

Why Woodworking? Benefits for High School Students
- Skill Development: Woodworking builds foundational skills, from tool handling to precision and problem-solving.
- Creative Expression: Each project allows room for design and creative touches, enhancing self-expression.
- Useful Results: The projects below create functional items students can take home, use, or gift!
High School Wood Project Ideas
1. Simple Shelf or Wall Organizer
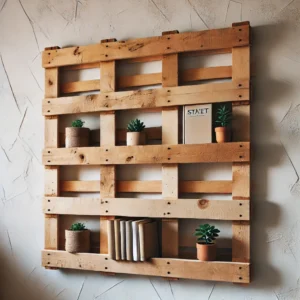
A shelf is a basic project that introduces measuring, cutting, and sanding—skills essential for more advanced woodworking.
Steps:
- Measure and cut wood to desired length.
- Sand the edges for a smooth finish.
- Use brackets to attach the shelf to a wall.
- Optional: Paint or stain the wood to match a personal style.
Materials Needed:
- Wood plank (pine or cedar work well)
- Sandpaper
- Paint or stain (optional)
- Wall brackets and screws
2. Wooden Phone Stand

A phone stand is practical, simple to create, and offers room for design tweaks. Plus, it can be finished quickly and used every day.
Steps:
- Cut a small wooden block (approximately 6×4 inches).
- Drill or carve a groove for the phone to rest in.
- Sand the edges and apply a finish for a polished look.
Materials Needed:
- Wood block
- Sandpaper
- Drill or small chisel
- Paint or wood varnish (optional)
3. Birdhouse
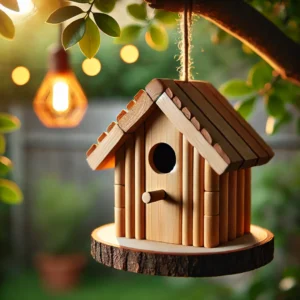
This classic project is perfect for teaching measuring and assembly skills, and birdhouses can be customized with colors and designs.
Steps:
- Measure and cut pieces for the base, sides, roof, and front.
- Drill a small hole for the bird entrance.
- Assemble the pieces with nails or wood glue.
- Paint and decorate, if desired.
Materials Needed:
- Wood (cedar or pine works well)
- Nails or wood glue
- Sandpaper
- Paint (optional)
4. Small Stool or Step Stool
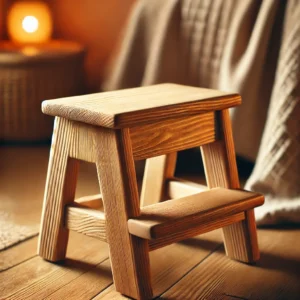
A small stool is a functional project that teaches basic joinery and offers a practical result.
Steps:
- Cut two side pieces and one top piece of wood for the seat.
- Attach the sides to the top using wood screws and add support underneath if needed.
- Sand the entire stool for a smooth finish and apply a stain or paint.
Materials Needed:
- Wood (for a standard stool, 1-inch thick pine or hardwood is sturdy)
- Screws
- Sandpaper
- Stain or paint
5. Wooden Coasters
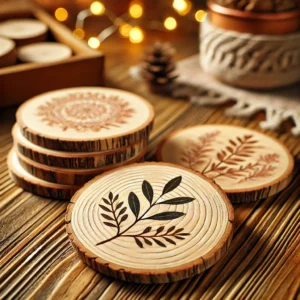
Coasters are quick, easy, and allow students to experiment with different shapes and finishes. They can also try woodburning for custom designs.
Steps:
- Cut wood into squares or circles (about 4×4 inches).
- Sand the edges and surface until smooth.
- Finish with a clear waterproof sealant or customize with paint or woodburning designs.
Materials Needed:
- Small wood planks (cedar or oak)
- Sandpaper
- Paint, stain, or wood sealant
6. Key Holder or Coat Rack
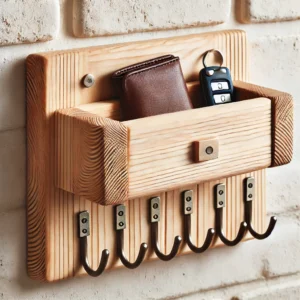
A key or coat rack adds a touch of personalization to any space and can be designed with hooks or pegs.
Steps:
- Cut a wood plank to the desired size.
- Sand the surface and edges.
- Attach hooks or small pegs for holding keys or hanging items.
- Mount to the wall or add picture hangers on the back.
Materials Needed:
- Wood plank
- Hooks or pegs
- Sandpaper
- Wall hangers or screws
7. Picture Frame
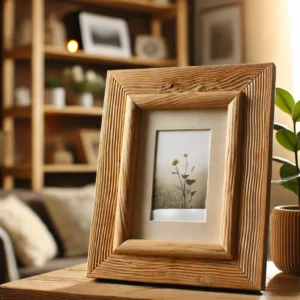
A picture frame is another project with great customization potential, allowing students to learn mitered cuts and assembly.
Steps:
- Cut four pieces of wood with mitered (angled) edges for the frame.
- Assemble using wood glue or small nails.
- Sand the frame smooth and finish with paint, stain, or a custom design.
Materials Needed:
- Wood strips
- Wood glue or nails
- Sandpaper
- Paint or stain (optional)
8. Wooden Tray
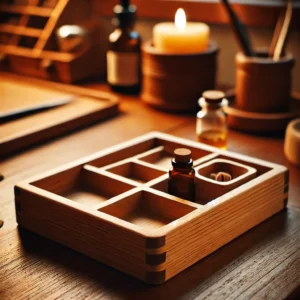
A wooden tray is both functional and stylish, making it a great project for high schoolers to learn simple joinery and finishing techniques.
Steps:
- Cut a base and four side pieces.
- Assemble using nails or wood glue.
- Sand and apply a wood finish.
- Optional: Attach handles for easy carrying.
Materials Needed:
- Wood planks
- Wood glue or nails
- Sandpaper
- Handles (optional)
Safety Tips for Students
- Always Wear Safety Gear: This includes goggles, gloves, and dust masks.
- Double-Check Measurements: Avoid redoing cuts and wasting wood by measuring carefully.
- Respect Power Tools: Power tools should only be used with proper guidance and training.
- Work in a Well-Ventilated Area: Especially when using stains, paints, or varnishes.
These projects offer students a rewarding introduction to woodworking while creating items that are both practical and stylish.
Leave a Reply