Woodworking projects are a fantastic way for students to develop creativity, learn basic skills, and make something with their hands. Here are some beginner-friendly wood projects that are fun, practical, and perfect for students to complete with minimal tools and materials.
1. Pencil Holder
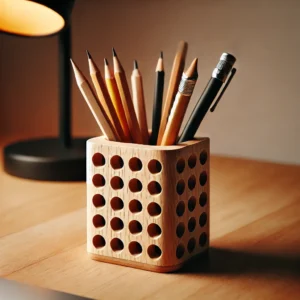
A pencil holder is a great first project that’s both functional and simple to make. Students can create their own custom design to use at home or school.
Steps:
- Use a small block of wood and drill several holes on top, deep enough to hold pencils.
- Sand it smooth and finish with paint or stain.
- Decorate with simple designs or initials for a personal touch.
Skills Practiced: Basic drilling, sanding, and finishing.
2. Picture Frame
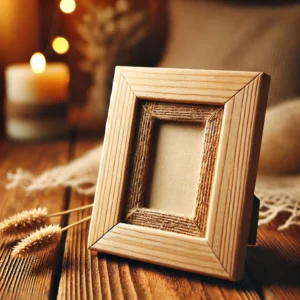
Making a wooden picture frame allows students to practice measuring, cutting, and sanding.
Instructions:
- Cut four pieces of wood for the frame, arranging them in a rectangle or square.
- Glue or nail the pieces together.
- Sand it smooth, and add a backing and hooks if desired.
Pro Tip: Students can paint or decorate the frame with markers for extra creativity.
3. Mini Bookshelf
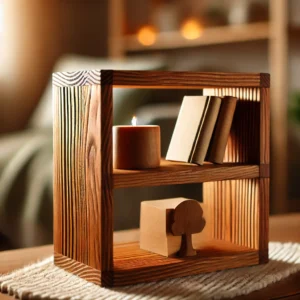
A small, simple bookshelf is useful and easy to create with a few pieces of wood. It’s a great introduction to assembling with nails or screws.
Steps:
- Cut two pieces of wood for the sides and two for the shelves.
- Assemble by attaching the shelves between the side pieces.
- Sand and finish as desired.
Perfect for: Holding books, toys, or small items.
4. Phone Stand

A phone stand is a quick project that requires only a few cuts and a bit of sanding, making it perfect for beginners.
How to Make:
- Cut a small rectangular piece for the base and a smaller piece for the backrest.
- Cut a notch in the base to hold the phone at an angle.
- Sand smooth, and optionally decorate with paint.
Great for: Practicing precision and creating a functional item.
5. Wooden Coasters
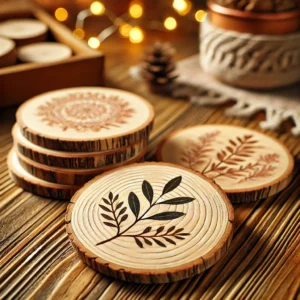
Wooden coasters are a simple yet satisfying project. Students can make a set for home, each one unique with different designs.
Instructions:
- Cut small square or circular pieces of wood.
- Sand each piece smooth and add designs with paint or markers.
- Finish with a coat of varnish to protect against moisture.
Tip: Students can try wood burning for custom patterns.
6. Key Holder
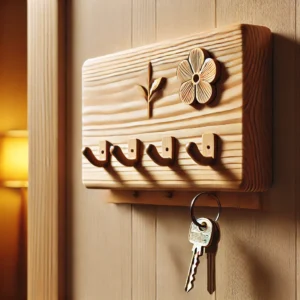
A wall-mounted key holder helps students keep their keys in one place and is a fun, creative project.
Steps:
- Cut a small plank of wood and attach a few hooks along the bottom.
- Decorate the top with paint, markers, or stencils.
- Attach to the wall with nails or adhesive hooks.
Skills Practiced: Simple assembly, decorating, and basic finishing.
7. Wooden Bookmarks
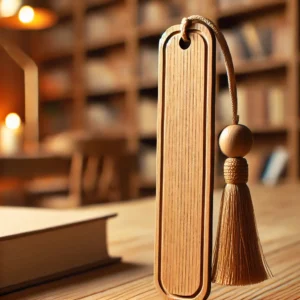
Thin wooden bookmarks are quick to make and perfect for avid readers. This project introduces students to the concept of wood shaping.
How to Make:
- Cut a thin strip of wood (around 1 inch wide and 6 inches long).
- Sand it until smooth and round off the edges.
- Decorate with paint or burn patterns with a wood-burning tool.
Bonus Tip: Add a small hole at the top to attach a ribbon or tassel.
8. Simple Birdhouse
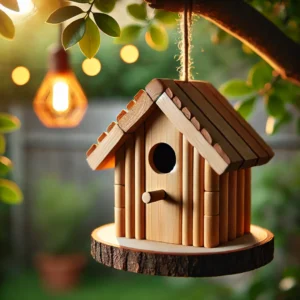
A classic woodworking project, birdhouses are educational, fun to build, and help attract birds to the yard.
Instructions:
- Cut out six pieces of wood (four walls, a roof, and a base) and assemble them into a small box.
- Cut a hole on one wall as the entrance.
- Sand the edges, paint if desired, and hang outdoors.
Perfect for: Practicing cutting, assembly, and learning about wildlife.
9. Desk Organizer
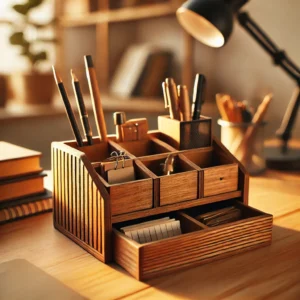
A simple desk organizer with compartments for pens, notes, and other small items is practical and easy to make.
Steps:
- Start with a rectangular wood base and attach smaller blocks as dividers.
- Sand all surfaces smooth and finish with paint or stain.
- Personalize with names, initials, or simple designs.
Skills Practiced: Measuring, simple assembly, and creativity.
10. Wooden Box
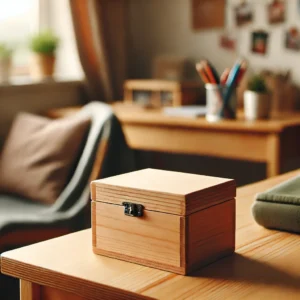
A small wooden box is a versatile project that helps students learn assembly skills and offers a great result for storing items.
Instructions:
- Cut four side pieces and one bottom piece.
- Assemble the box by attaching each side to the bottom.
- Sand and decorate with paint or a wood finish.
Tip: Add a small hinge for a lid to make it a keepsake box.
11. Small Plant Stand
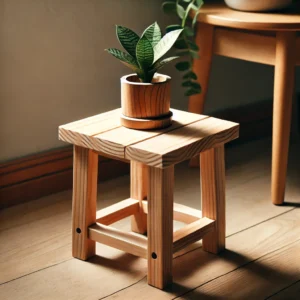
A plant stand introduces students to building small furniture and is great for displaying small potted plants.
How to Make:
- Cut four pieces for legs and one piece for the top.
- Attach the legs to the top using nails or wood glue.
- Sand and finish to protect against water.
Perfect for: Practicing stability and learning about weight support in furniture.
12. Wooden Nameplate

Personalized nameplates are fun and quick to make, and they can be used as decor or on a desk.
Steps:
- Cut a small rectangular piece of wood and sand it smooth.
- Use stencils or paint to write a name or word.
- Optionally, decorate the border with paint or wood burning.
Great for: Adding a creative, personalized touch.
13. Simple Shelf
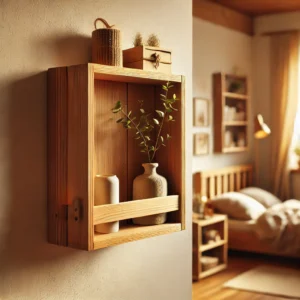
A small wall-mounted shelf is a practical project and a good introduction to basic carpentry.
Instructions:
- Cut one piece of wood for the shelf and two small pieces for brackets.
- Attach the brackets to the wall and place the shelf on top.
- Sand and stain for a polished look.
Perfect for: Practicing measurement and learning wall mounting.
14. Wooden Tray
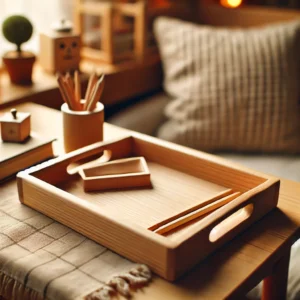
A wooden tray is a versatile project, great for holding items on a table or desk. Students can add handles for easy carrying.
Steps:
- Cut a rectangular piece of wood and attach small wood strips along the edges to create borders.
- Sand the surface, paint or stain as desired.
- Optionally, attach small handles to the sides.
Skills Practiced: Assembly and finishing.
15. Puzzle Blocks
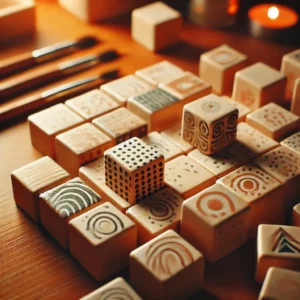
Puzzle blocks are a fun project where students can create their own block designs or build simple shapes.
How to Make:
- Cut small blocks of wood into uniform shapes.
- Sand all edges for a smooth finish.
- Paint or decorate each block with patterns or images.
Tip: Students can make a simple puzzle by painting parts of an image across multiple blocks.
Tools and Materials Needed
| Tool | Purpose |
|---|---|
| Sandpaper | Smoothing surfaces |
| Saw (Hand or Jig) | Cutting wood to size |
| Drill | Drilling holes for hooks |
| Hammer and Nails | Assembly |
| Wood Glue | Securing parts together |
| Paint/Markers | Decorating and personalizing |
| Ruler | Measuring for accuracy |
Tips for Student Woodworking Projects
- Use Soft Woods: Soft woods like pine and basswood are easier to work with and perfect for beginners.
- Safety First: Always have protective gear, especially when sawing or sanding.
- Practice Sanding: Smooth edges are key for beginner projects, so spend time on sanding.
- Add Creativity: Encourage students to decorate or paint their finished projects for a unique touch.
- Keep it Simple: Focus on projects with minimal parts and easy assembly.
These easy woodworking projects will help students develop confidence, creativity, and basic skills in a fun and practical way. Plus, they’ll have something they can proudly display or use!
Leave a Reply