For a 15-year-old boy interested in woodworking, DIY projects should be fun, practical, and challenging enough to keep him engaged without being overly complicated. Here are some project ideas that balance creativity, functionality, and skill development, using basic tools and materials he can handle with confidence.
1. Simple Wall Shelf
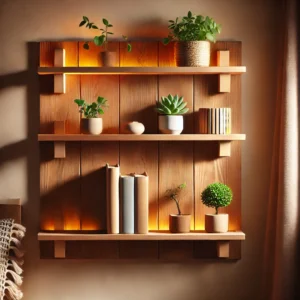
- Why It’s Great: A wall shelf is both functional and a great decor addition. It can be customized with paint or stain to match his room.
- How-To: Use a plank of wood and two small wood brackets. Sand, paint, or stain the shelf, then mount it on the wall using screws and a drill.
- Skills Practiced: Measuring, cutting, sanding, and mounting.
2. Phone Amplifier Stand
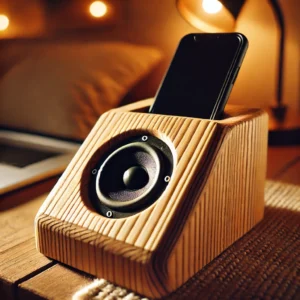
- Why It’s Great: This amplifier stand naturally boosts sound from a phone and is easy to personalize.
- How-To: Cut a slot for the phone and a circular hole to amplify sound through a hollowed area. Sand it down for a smooth finish.
- Skills Practiced: Basic carving, measuring, and sanding.
3. Personalized Key Holder
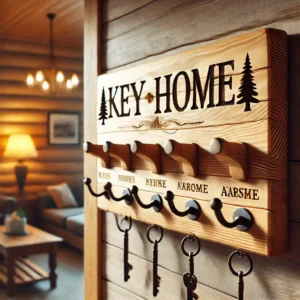
- Why It’s Great: A quick and rewarding project, ideal for organizing keys or small accessories.
- How-To: Use a small plank, attach hooks, and customize with a name or logo using paint, markers, or wood burning.
- Skills Practiced: Drilling, attaching hooks, and decorating.
4. Tablet or Phone Stand
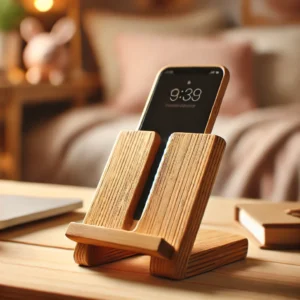
- Why It’s Great: A stand for his devices is practical and easy to make.
- How-To: Cut a block of wood at an angle and carve a small slot for the device to rest in. Sand and paint if desired.
- Skills Practiced: Measuring, cutting, and finishing.
5. Bottle Opener with Cap Catcher
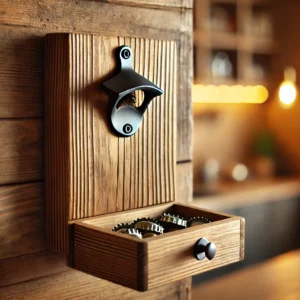
- Why It’s Great: A fun project for a future home bar or kitchen. Mount it to a wall and catch caps with a small box underneath.
- How-To: Attach a bottle opener to a wood plank and add a small box below to catch bottle caps.
- Skills Practiced: Basic assembly and attaching hardware.
6. Wooden Game Board
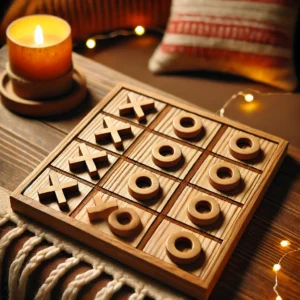
- Why It’s Great: Create a tic-tac-toe, chess, or checkers board from wood, making it a unique piece for his room or game collection.
- How-To: Sand a square piece of wood, mark the game board lines, and paint or burn designs. Create small game pieces from wood slices.
- Skills Practiced: Measuring, sanding, painting or wood burning.
7. Headphone Stand
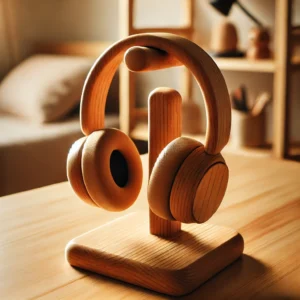
- Why It’s Great: Keep headphones organized with a stylish DIY stand.
- How-To: Cut and assemble a small base and upright piece with a hook or rounded top. Sand and paint to customize.
- Skills Practiced: Basic assembly, sanding, and painting.
8. Wooden Desk Organizer
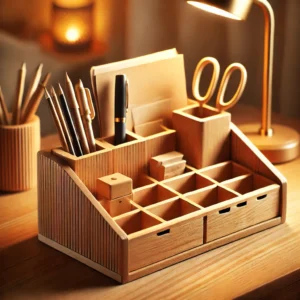
- Why It’s Great: An organizer for pencils, paper, or small items is always useful and easy to personalize.
- How-To: Create a box with dividers or small compartments for organizing items. Sand it down and finish with a clear coat or paint.
- Skills Practiced: Measuring, cutting, sanding, and painting.
9. Simple Bookshelf
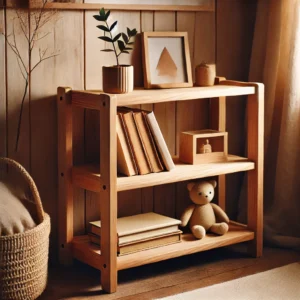
- Why It’s Great: A mini bookshelf can store books, games, or decor items.
- How-To: Cut and assemble three or four pieces of wood to form a basic shelf, sanding down the edges. Add brackets to hang or place on a desk.
- Skills Practiced: Measuring, cutting, assembling, and finishing.
10. Wooden Photo Frame
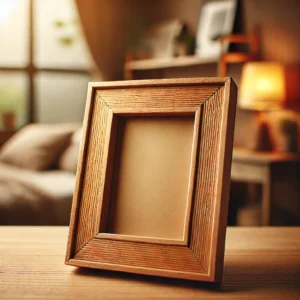
- Why It’s Great: A personalized photo frame is simple and makes a great gift.
- How-To: Cut wood strips and assemble into a frame, then sand and decorate. Add a back to hold the picture.
- Skills Practiced: Measuring, sanding, and assembly.
11. DIY Wooden Sign
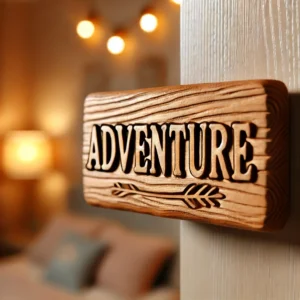
- Why It’s Great: Create a sign with a favorite quote, name, or sports team logo.
- How-To: Use a wood plank and paint, carve, or burn designs into it. Add hooks or hangers to mount it.
- Skills Practiced: Painting, sanding, and wood burning.
12. Charging Station Organizer
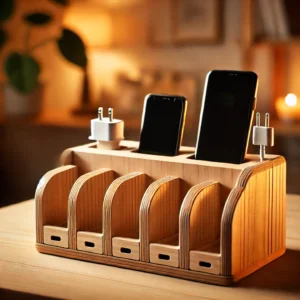
- Why It’s Great: Organize charging cords and devices on a custom wooden dock.
- How-To: Cut and sand a wooden block with slots for phones and a hole for charging cables.
- Skills Practiced: Cutting, sanding, and basic assembly.
13. Laptop Stand
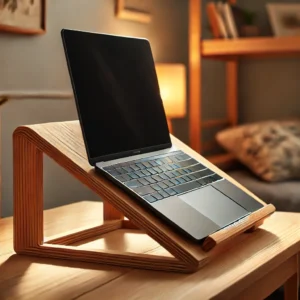
- Why It’s Great: A DIY laptop stand is both functional and customizable.
- How-To: Cut two side pieces at an angle and connect them with a crossbar to elevate the laptop.
- Skills Practiced: Measuring angles, sanding, and assembling.
14. Wooden Candle Holder
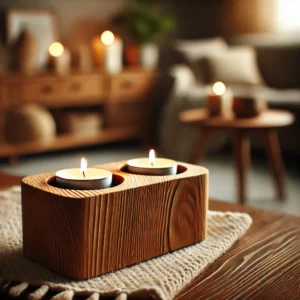
- Why It’s Great: A small candle holder for tealights or small candles is easy to make and personalizes any space.
- How-To: Drill small shallow holes in a rectangular wood block for tealights and sand smooth.
- Skills Practiced: Drilling, sanding, and finishing.
15. Basic Tool Organizer
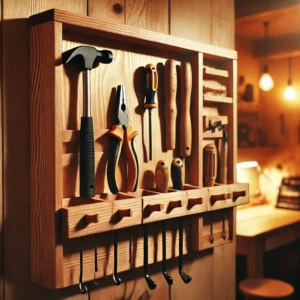
- Why It’s Great: Keep tools neat and organized on a custom tool rack.
- How-To: Attach hooks or small shelves to a board to hold basic tools, and mount it in a garage or room.
- Skills Practiced: Assembly, attaching hardware, and mounting.
16. Wooden Tray
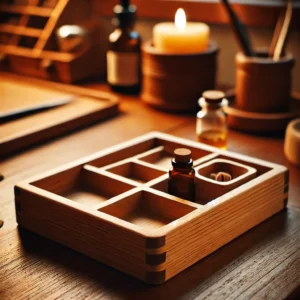
- Why It’s Great: A small tray can be used for organizing items on a desk or nightstand.
- How-To: Create a small box with a base and short walls. Sand, paint, or stain for a finished look.
- Skills Practiced: Basic assembly, sanding, and decorating.
17. Wall-Mounted Shelf with Hooks
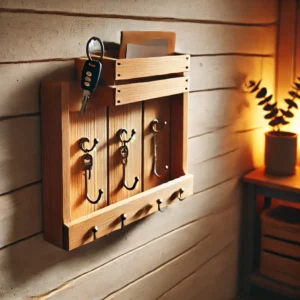
- Why It’s Great: A shelf with hooks is practical for storing items and keeping keys organized.
- How-To: Attach hooks to a small plank and mount it to the wall, adding a small top shelf if desired.
- Skills Practiced: Attaching hooks and measuring for wall mounting.
18. Custom Coasters
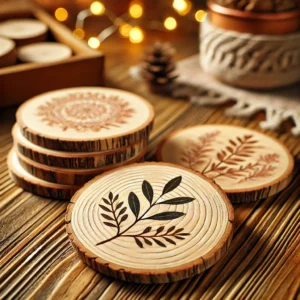
- Why It’s Great: Coasters are quick to make and fun to personalize with paint or wood burning.
- How-To: Cut small squares or circles, sand, and add designs. Finish with a waterproof sealant.
- Skills Practiced: Sanding, painting, and wood burning.
19. Small Plant Stand
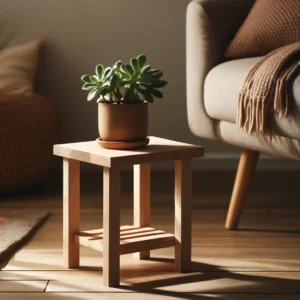
- Why It’s Great: A plant stand adds a decorative touch to any room and gives experience with basic assembly.
- How-To: Cut four short legs and a top base, assemble, and sand for smoothness.
- Skills Practiced: Measuring, cutting, and finishing.
20. Wooden Tablet Holder for the Kitchen
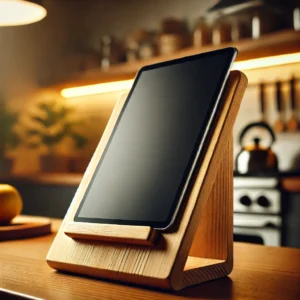
- Why It’s Great: This holder keeps a tablet upright for viewing recipes while cooking.
- How-To: Cut a backrest with a small lip for support. Sand and stain it for a polished look.
- Skills Practiced: Cutting, sanding, and assembly.
Tips for Success:
- Start Simple: Projects like coasters, phone stands, and basic shelves are excellent for building confidence.
- Sand Carefully: Sanding is essential for a polished finish and makes the project look professional.
- Customize: Personalizing with paint, stencils, or wood burning adds character and makes each project unique.
- Safety First: Always wear protective eyewear and ensure adult supervision if using power tools.
Each project offers a fun way to practice essential woodworking skills, with plenty of opportunities for personalization! Let me know if you’d like specific instructions on any of these.
Leave a Reply