Scrap wood projects are a perfect starting point for beginners in woodworking—simple, affordable, and versatile. Here’s a detailed guide to 40 DIY scrap wood projects that you can make even with limited tools. These projects range from functional home decor to simple furniture pieces, making them both practical and rewarding. Let’s get started!
1. Mini Wood Shelves
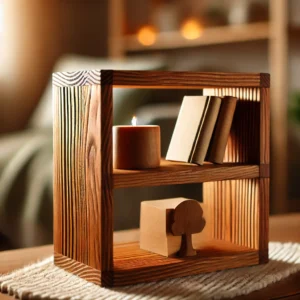
- Instructions: Cut a small wood plank, sand it smooth, and attach it to the wall using brackets or L-hooks.
- Uses: Display small plants, picture frames, or knick-knacks.
2. Pencil Holder
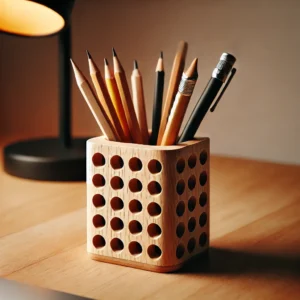
- Instructions: Drill several holes in a small block of wood, deep enough to hold pencils or pens.
- Customization: Paint or carve designs on the sides to personalize it.
3. Key Holder
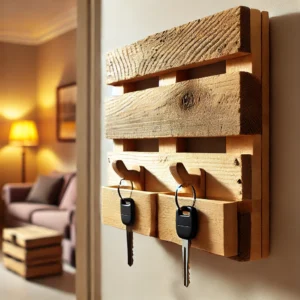
- Instructions: Attach a few small hooks to a rectangular piece of wood and mount it by the entryway.
- Additional Feature: Add a mini shelf on top for mail or small items.
4. Phone Stand
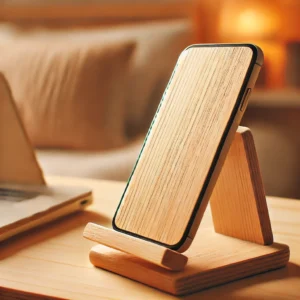
- Instructions: Cut a small, angled slot in a rectangular block of wood to hold a phone upright.
- Decor Ideas: Sand it smooth and stain or paint it for a polished look.
5. Wooden Coasters
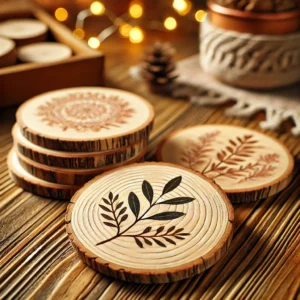
- Instructions: Cut small squares or circles, sand down the edges, and apply a waterproof finish.
- Optional: Use a wood-burning tool or paint to add patterns or initials.
6. Planter Box
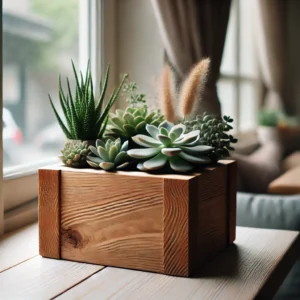
- Instructions: Assemble a small wooden box, sand it smooth, and apply a waterproof finish if using for real plants.
- Great For: Succulents, herbs, or small indoor plants.
7. Candle Holder
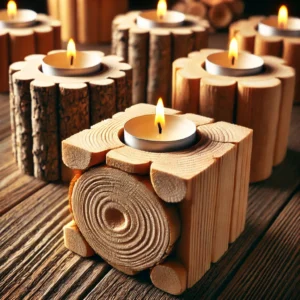
- Instructions: Drill shallow holes in a wood block to hold tealight candles.
- Customization: Sand it down and stain it for a rustic look.
8. Picture Frame
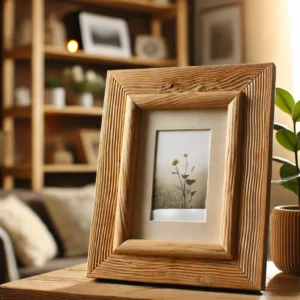
- Instructions: Cut four strips of wood for the sides and assemble them in a square or rectangular shape.
- Finish: Add backing and glass or leave it as a rustic open frame.
9. Wooden Signs
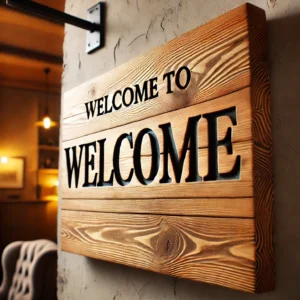
- Instructions: Paint or stencil phrases on a small wooden plank for decorative signs.
- Popular Phrases: “Welcome,” “Home Sweet Home,” or holiday themes.
10. Birdhouse
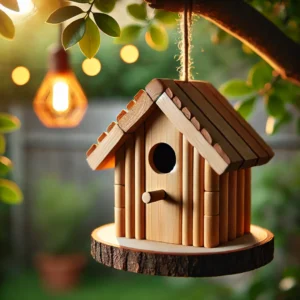
- Instructions: Cut and assemble six pieces of wood (four walls, a roof, and a base) into a small birdhouse shape.
- Additional Features: Drill a hole on the front panel and attach a perch below it.
11. Wooden Bookmark
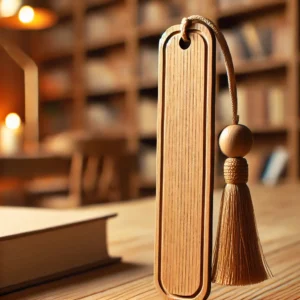
- Instructions: Cut a thin strip of wood, sand it smooth, and optionally add a hole for a tassel.
- Decor: Burn designs or initials for a personalized touch.
12. Entryway Shelf
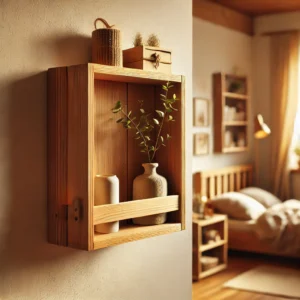
- Instructions: Cut a small plank and attach hooks underneath. Mount the shelf in an entryway.
- Extra Storage: Add small hooks for keys or small bags.
13. Jewelry Holder
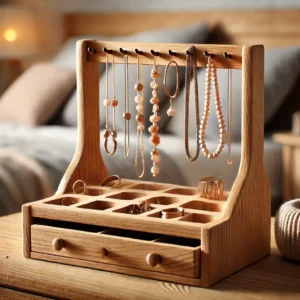
- Instructions: Add small hooks or pegs to a piece of scrap wood to hang necklaces and bracelets.
- Decoration: Paint the wood or add a design with markers.
14. Wall-Mounted Bottle Opener
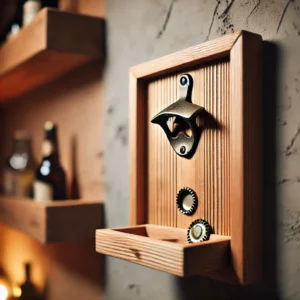
- Instructions: Attach a metal bottle opener to a small wood plank, with a catch tray for caps.
- Tip: Great for home bars or kitchen areas.
15. Desk Organizer
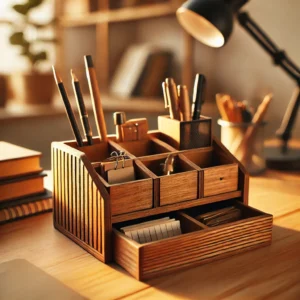
- Instructions: Create compartments on a small wooden board to hold pens, sticky notes, and other office supplies.
- Custom Look: Stain or paint each compartment for a unique design.
16. Wooden Tray
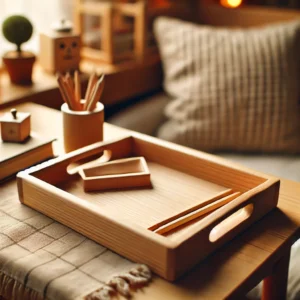
- Instructions: Cut a base and attach small strips along the edges to form a border.
- Additional Feature: Attach handles on each side for easy carrying.
17. Wooden Wall Art
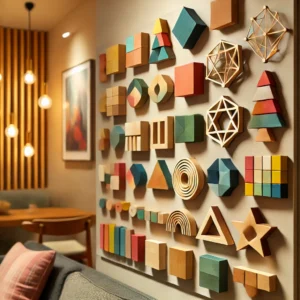
- Instructions: Arrange various small wood pieces in different shapes or patterns on a wall.
- Ideas: Paint each piece in a different color for a mosaic effect.
18. Pet Feeder Stand
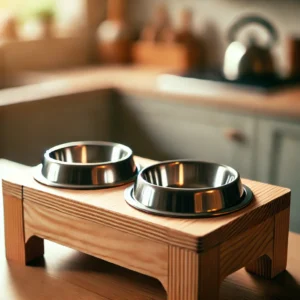
- Instructions: Create a low stand with two circular cutouts for food and water bowls.
- Tip: Use waterproof wood for easy cleaning.
19. Toy Blocks
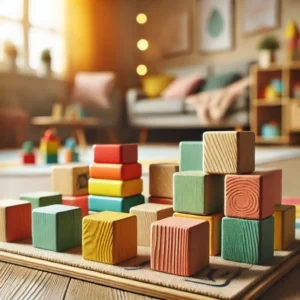
- Instructions: Cut small square blocks, sand down any sharp edges, and paint each one.
- Kid-Safe: Use non-toxic paint if intended for children.
20. Shelf Brackets
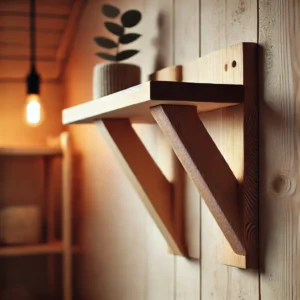
- Instructions: Shape scrap wood into decorative angles or straight pieces for supporting shelves.
- Stain or Paint: To match different styles or room colors.
21. Magazine Holder
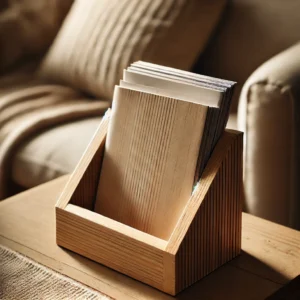
- Instructions: Create a small box or angled holder to store magazines.
- Decor Ideas: Stain it dark or paint it in vibrant colors.
22. Serving Board
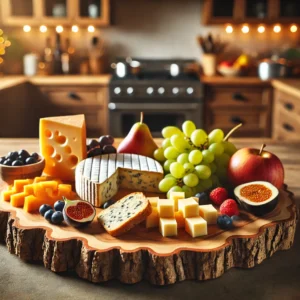
- Instructions: Cut and sand a wood piece into a board shape, adding handles if desired.
- Finishing Touch: Apply food-safe oil if you plan to use it for food.
23. Towel Rack
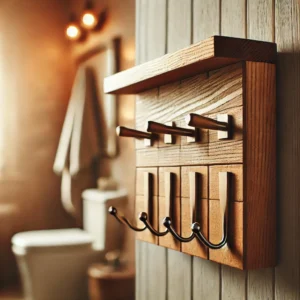
- Instructions: Attach several hooks to a long piece of wood and mount it on the wall.
- Bathroom or Kitchen Use: For hanging towels or kitchen utensils.
24. Wooden Clock
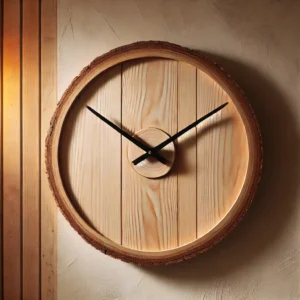
- Instructions: Drill a hole in the center for clock hardware, add the clock hands, and decorate the face.
- Personalization: Paint numbers or designs onto the wood face.
25. Step Stool
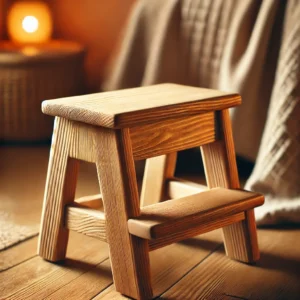
- Instructions: Cut and assemble a small, sturdy stool for kids or reaching high shelves.
- Safety Tip: Make sure the legs are even for stability.
26. Napkin Holder
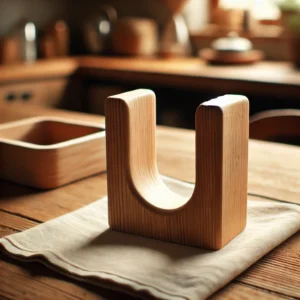
- Instructions: Make a U-shaped stand by attaching two wood strips to a flat base.
- Customization: Add a design or paint it to match kitchen decor.
27. Pot Lid Holder
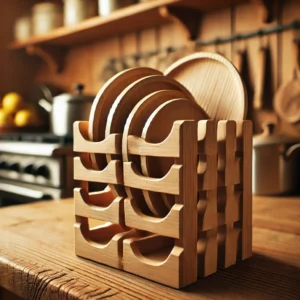
- Instructions: Create a stand with multiple slots to hold pot lids vertically.
- Idea: Keep it in the kitchen for easy organization.
28. Candle Stand
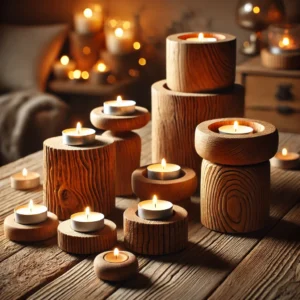
- Instructions: Stack and secure small pieces of wood in a staggered formation.
- Finish: Sand and stain for a rustic or modern look.
29. Mudroom Bench
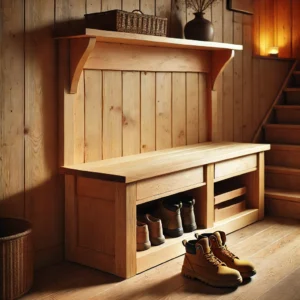
- Instructions: Build a small bench with a flat top and sturdy legs.
- Functionality: Add a storage shelf under the seat for shoes.
30. Mail Organizer
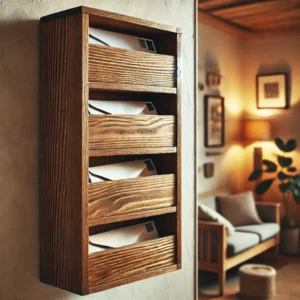
- Instructions: Make a small, tiered stand to hold envelopes and mail.
- Extra Features: Add labels for sorting bills, personal mail, and invitations.
31. Plant Stand
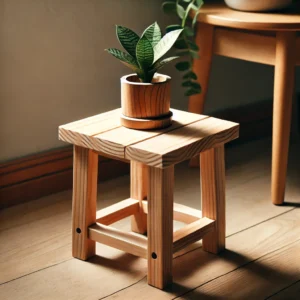
- Instructions: Make a simple stand with four legs and a top, perfect for holding small potted plants.
- Decor Tip: Use outdoor wood for durability if it will be outside.
32. Tool Organizer
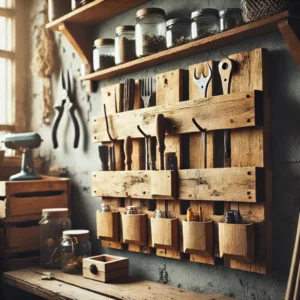
- Instructions: Attach hooks, pegs, or small shelves to a wood board for tool organization.
- Workshop Use: Keeps small tools and accessories easy to find.
33. Soap Dish
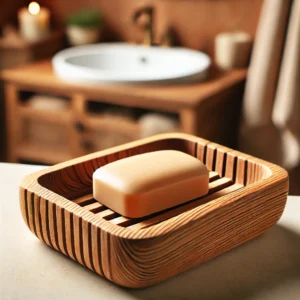
- Instructions: Cut a small block, add shallow grooves for drainage, and sand it smooth.
- Finish: Apply a waterproof sealant for bathroom use.
34. Spoon Rest
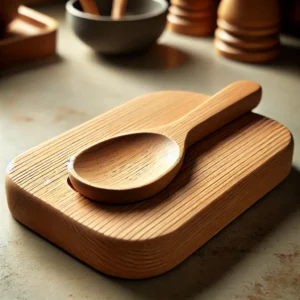
- Instructions: Carve or cut a shallow groove in a small plank to hold spoons.
- Tip: Make it wide enough to hold larger utensils.
35. Pet Toy Box
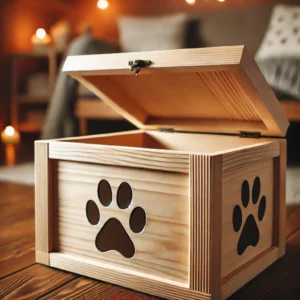
- Instructions: Build a small box with an open top to store pet toys.
- Personalize: Paint it with your pet’s name or add small paw prints.
36. Bedside Table Caddy
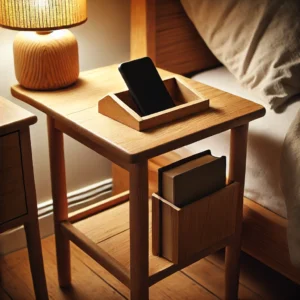
- Instructions: Create a simple wood pocket to hold books, phones, or glasses, and attach it to the side of a nightstand.
- Idea: Great for dorm rooms or small spaces.
37. Egg Holder
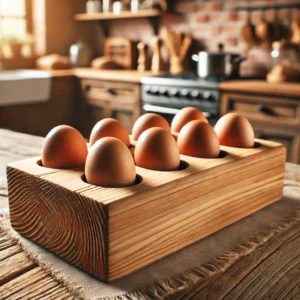
- Instructions: Drill evenly spaced shallow holes in a small plank to hold eggs upright.
- Finish: Sand and stain for a natural, rustic look.
38. Photo Display Block
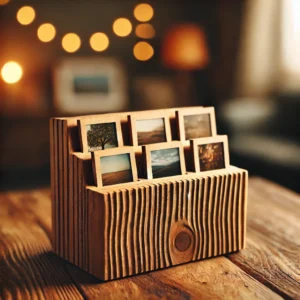
- Instructions: Carve small notches in a wooden block to hold photos, cards, or postcards upright.
- Decoration: Stain or paint for extra character.
39. Utensil Organizer
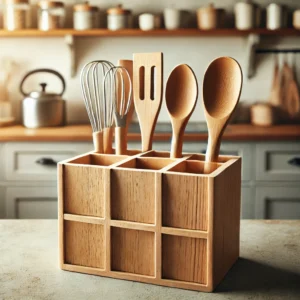
- Instructions: Divide a small box into sections to hold utensils and keep drawers organized.
- Kitchen Ready: Apply a food-safe finish.
40. Wobble Board
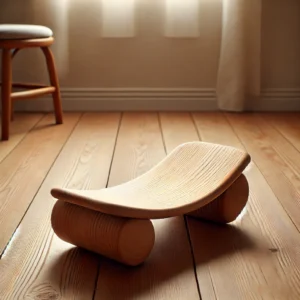
- Instructions: Cut a curved edge on a flat plank to create a balance board.
- Fun for Kids: Smooth the edges and finish for safe indoor play.
Each of these projects is simple to make and gives you the opportunity to use up scrap wood in a creative, functional way. You can also customize many of these ideas to match your home style or add a unique touch. Whether you’re making items for personal use, gifts, or even to sell, these beginner-friendly projects are sure to impress!
Leave a Reply